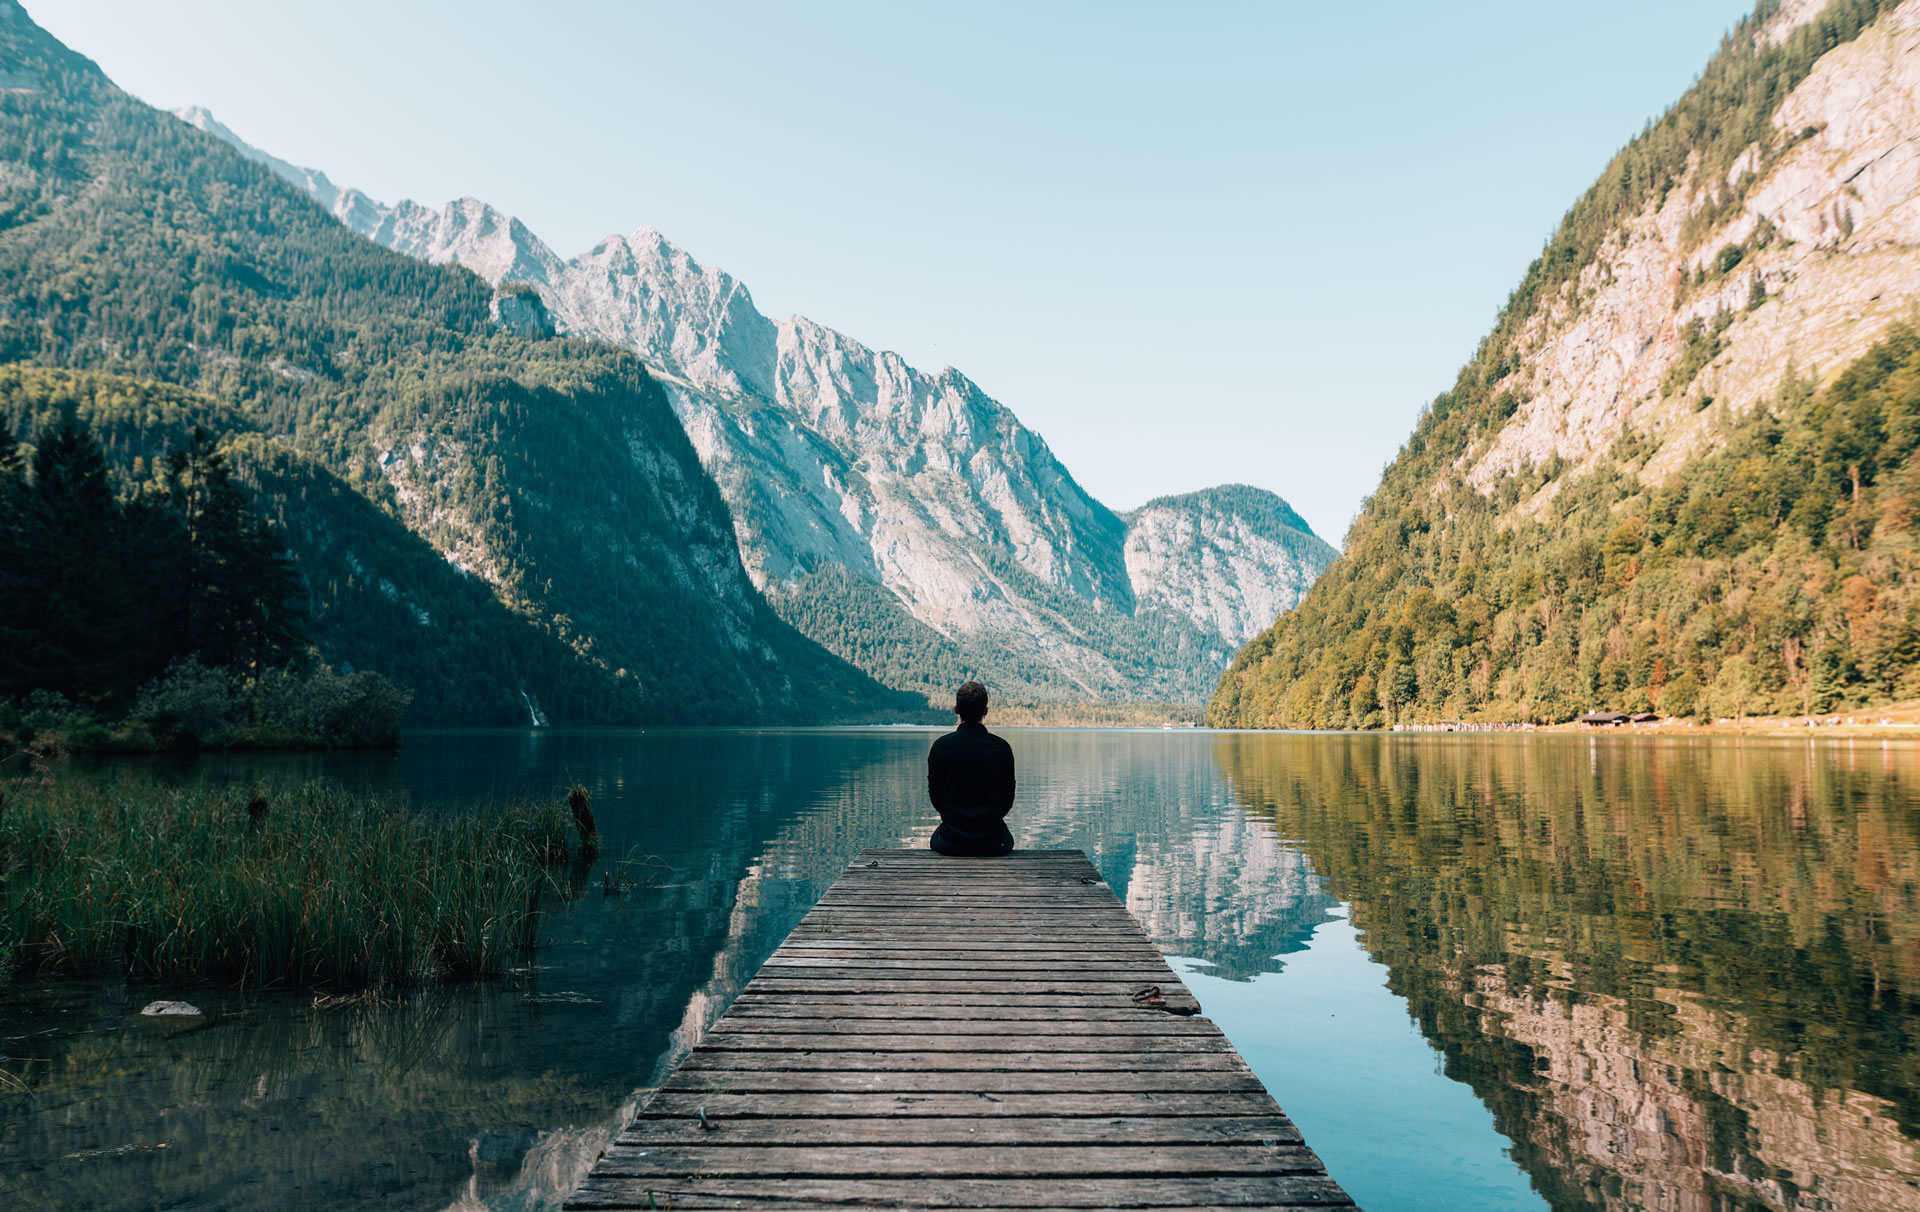
Post-processing plays a vital role in bringing out the full potential of your landscape photographs. Adobe Lightroom is a powerful tool that can help you enhance and fine-tune your images, adding depth, contrast, and vibrancy while preserving the natural beauty of the scene. In this guide, we’ll delve into essential tips and techniques for editing landscape photos in Lightroom, from basic adjustments to advanced enhancements.
Importing and Organizing Your Photos: Setting the Stage
- Best practices for importing your landscape photos into Lightroom.
- Creating an efficient organizational system with folders, collections, and keywords.
- Techniques for rating and flagging images to streamline your editing workflow.
- Example
- After a day of landscape photography, the photographer imports all images into Lightroom, organizes them into folders by location, and applies star ratings to quickly identify standout shots for editing.
Basic Adjustments: Laying the Foundation
- Utilizing essential tools in the Basic panel to adjust exposure, contrast, and white balance.
- Techniques for recovering highlights and opening up shadows to reveal details.
- Applying graduated and radial filters for localized adjustments.
- Example
- In a landscape image with a bright sky and dark foreground, the photographer uses the graduated filter to reduce the sky’s exposure, revealing more cloud detail, and then applies a radial filter to brighten the main subject, creating a balanced composition.
Color Enhancement: Bringing Vibrancy and Balance
- Adjusting vibrance and saturation to enhance the colors in your landscape.
- Techniques for using the HSL (Hue, Saturation, and Luminance) panel to fine-tune specific color ranges.
- Creating vibrant and natural-looking skies, foliage, and water.
- Example
- In a seascape photograph, the photographer increases the saturation of the blue tones in the HSL panel to make the ocean’s color pop while keeping skin tones and other colors natural.
Sharpening and Detail Enhancement: Adding Clarity
- Applying sharpening and noise reduction to improve overall image quality.
- Techniques for using the Detail panel to enhance fine details.
- Creating a sense of depth and texture in landscapes with the Clarity slider.
- Example
- In a mountain landscape, the photographer applies subtle sharpening to enhance the intricate details of the rocky terrain and uses the Clarity slider to bring out texture in the mountain peaks.
Creative Adjustments: Adding the Finishing Touches
- Exploring creative techniques like split toning and vignetting to add mood and emphasis.
- Using graduated and radial filters for creative effects like darkening skies or enhancing light sources.
- Techniques for applying selective adjustments to specific areas of your landscape.
- Example
- In a sunset image, the photographer adds a warm split tone to the highlights and a cool split tone to the shadows, creating a dreamy and balanced color palette that complements the mood of the scene.
Conclusion
Editing landscape photos in Lightroom is an essential step in realizing your vision and making your images stand out. By mastering the art of importing and organizing, applying basic adjustments, enhancing colors, sharpening details, and experimenting with creative adjustments, you can transform your landscape photographs into stunning works of art. These techniques will help you convey the beauty and emotion of the natural world through your imagery. Stay tuned for more insights into photography techniques and principles in our ongoing series.
